How to Improve PC Case Airflow

Source: Mike_shots/Shutterstock.com
Improving airflow in PC cases is essential for maintaining optimal temperatures, ensuring system stability, and prolonging component lifespan. This guide explores the mechanics of PC case airflow management — from the basics of fan placement to advanced cooling strategies — covering both air and liquid cooling systems. Whether you’re assembling your first build or optimizing an existing setup, these insights will aid in achieving efficient cooling, enhancing performance, and extending the durability of your PC’s components. Discover practical tips on fan configuration, airflow patterns, and maintaining positive case pressure to keep your system running at its best.
Why PC Case Airflow Is Important
- Temperature Management: Proper airflow helps dissipate heat generated by components like the CPU, GPU, and power supply unit (PSU). This prevents overheating, which can lead to thermal throttling and reduced performance.
- Component Longevity: Lower operating temperatures can extend the lifespan of your components by reducing thermal stress.
- System Stability: Consistent cooling ensures that your system runs smoothly without unexpected shutdowns or crashes due to overheating.
Basic Principles of PC Case Airflow
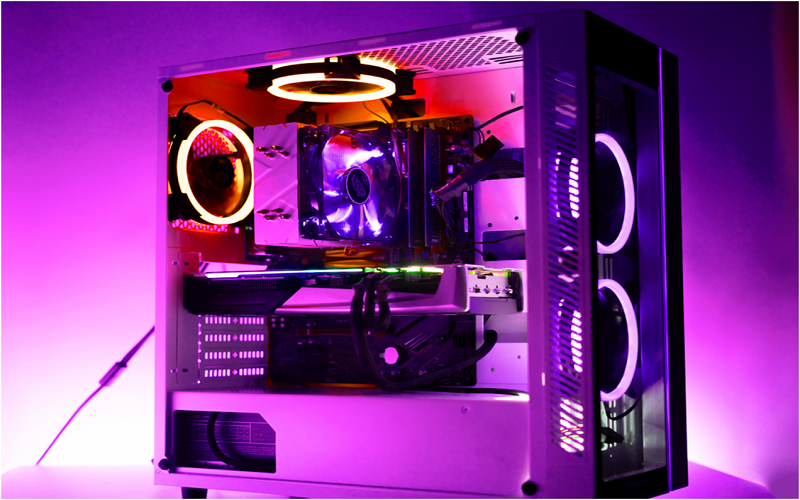
Airflow management in a PC involves setting up fans in a way that cool air is drawn in from one side (usually the front or bottom) and hot air is expelled from the other side (usually the top or rear). This setup ensures a steady flow of air that prevents heat buildup around critical components like the CPU and GPU.
For most setups, a basic configuration of two intake fans and one exhaust fan is sufficient to create a balanced airflow, which helps maintain optimal temperatures. It’s important to select the right size and number of fans based on the size of the PC case. Additionally, managing cables and removing any obstructions in the airflow path can significantly improve cooling efficiency.
Liquid Cooling vs. Air Cooling
Here’s a quick explanation of liquid cooling vs. air cooling and how it impacts your PC.
Air Cooling
Involves heatsinks and fans to dissipate heat. Air coolers are simpler to install and maintain, cost less, and are sufficient for most users. The downside is that they can be noisier and offer less cooling capacity compared to liquid systems, especially in overclocked or high-performance setups. These CPU coolers are a staple in many builds due to their reliability and straightforward functionality.
Liquid Cooling
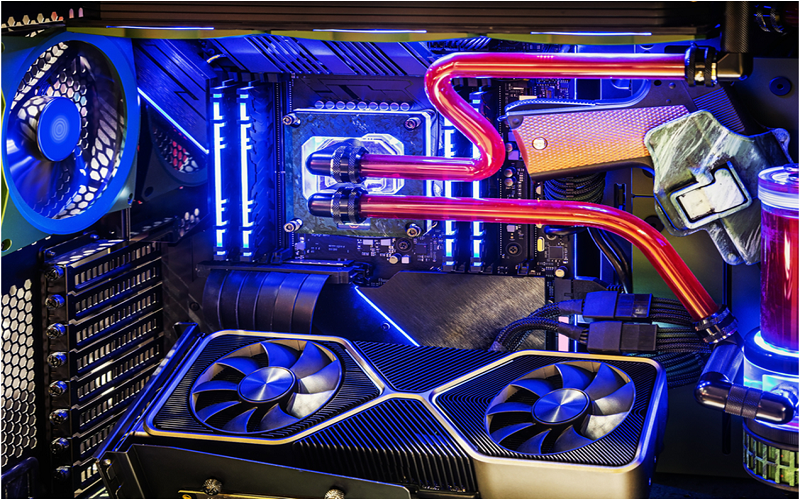
Offers superior cooling by directly cooling the CPU or GPU through a closed loop filled with a coolant. It’s especially beneficial in high-performance or overclocked systems where heat generation is significant. The main advantages include better overall cooling capacity and quieter operation compared to air coolers. However, liquid cooling systems are generally more expensive and complex to install.
Use Cases
- Beginners: Air cooling is usually more than adequate, offering a straightforward, cost-effective solution to manage PC temperatures effectively.
- Pro Builders: Might prefer liquid cooling for its superior thermal performance and aesthetic appeal in custom builds, particularly in scenarios involving overclocking or extended gaming sessions.

Source: OlegDoroshin/Shutterstock.com
How to Get Started with Optimizing and Improving PC Case Airflow
If you suspect that your PC might be running hotter than it should, improving airflow can significantly enhance performance and extend the lifespan of your components. Here’s how to get started and push further with your setup:
Identify the Issue
Start by monitoring your PC’s internal temperatures during different operations. Tools like HWMonitor or SpeedFan can provide real-time temperature data. Look for temperatures that consistently reach the upper thresholds during regular use or gaming.
Inspect Current Setup
Open your PC case and examine the current fan setup and airflow path. Note the positions of the intake and exhaust fans. Check for obstructions, such as disorganized cables or poorly placed components, that might be blocking airflow.
Plan Your Approach
Based on your findings, plan out how to rearrange your fans and components. Consider adding more fans if you have open slots available or rearranging them for optimal airflow.
Use Proper Fan Configuration and Adjust Placement
Implement a balanced setup of intake and exhaust fans to maintain an effective airflow cycle. A common recommendation is to have at least two intake fans and one exhaust fan.
Strategically place intake fans at the front and bottom of the case and exhaust fans at the rear and top. This setup utilizes the natural behavior of hot air rising and helps in maintaining efficient airflow
Optimize Air Pressure
Aim for positive air pressure by having more intake than exhaust fans. This helps prevent dust from entering through unfiltered gaps and maintains clean internal components.
Positive air pressure means the air pressure inside your PC case is higher than the outside, pushing excess air out through any small openings. To measure this, you can use an anemometer to gauge the airflow coming in and going out of the case, ensuring that intake CFM (cubic feet per minute) exceeds exhaust CFM. This balance helps keep dust out and aids in effective cooling.
Install Air Filters
Use air filters on intake fans to reduce the amount of dust that enters the case. Ensure that these filters are not too dense to avoid restricting the airflow.
Manage Cables Properly
Organize internal cables and ensure they do not obstruct airflow. Use cable management features of the case or additional ties to keep cables tidy and out of the way of air paths.
Use High-Quality Fans
Invest in good quality fans that offer a balance of airflow (measured in CFM) and noise levels. Larger fans can move more air at lower speeds, reducing noise while maintaining good airflow.
Consider the Size and Number of Fans
Ensure that the fans are appropriately sized for your case. Larger fans can be more efficient at moving air quietly compared to smaller fans spinning at higher speeds.
Regular Maintenance
Keep the fans and air filters clean. Dust buildup can significantly impede airflow and cooling efficiency. Regular cleaning ensures optimal performance.
Adjust Fan Speeds Based on Temperature
Use software or BIOS settings to adjust fan speeds dynamically based on system temperatures. This can help maintain optimal cooling efficiency without unnecessary noise.
Experiment with Radiator Placement in Liquid Cooling Setups
If using liquid cooling, experiment with radiator placement (front or top mount) to see which configuration offers the best cooling performance while maintaining good airflow within the case.
Test and Adjust
After making these changes, close your case and monitor the temperatures again under similar conditions. Look for improvements and make adjustments as needed.

Source: DC Studio/Shutterstock.com
Take Charge of Your PC’s Climate
Now that you have the tools and knowledge to master your PC’s airflow, it’s time to take action. Optimizing your setup not only boosts your system’s performance but also safeguards your investment by extending the lifespan of your components. Remember — the goal isn’t just to follow steps but to understand your system’s unique needs. Each adjustment you make brings you closer to a cooler, more efficient PC. So, open up that case, tweak your fans, and enjoy the benefits of a well-cooled machine. Start small, experiment confidently, and watch your PC’s performance transformation.


